You finish mopping, step back and wait for the shine. Instead, cloudy lines begin to appear. Some follow the mop. Others seem to show every step you took.
The floor may not still be dirty. Streaks often come from using too much cleaner, too much water or a mop pad that needed changing ten minutes ago.
Learning how to clean timber floors properly is less about scrubbing harder. It’s about using less and working with care.
What Is the Best Way to Clean Timber Floors?
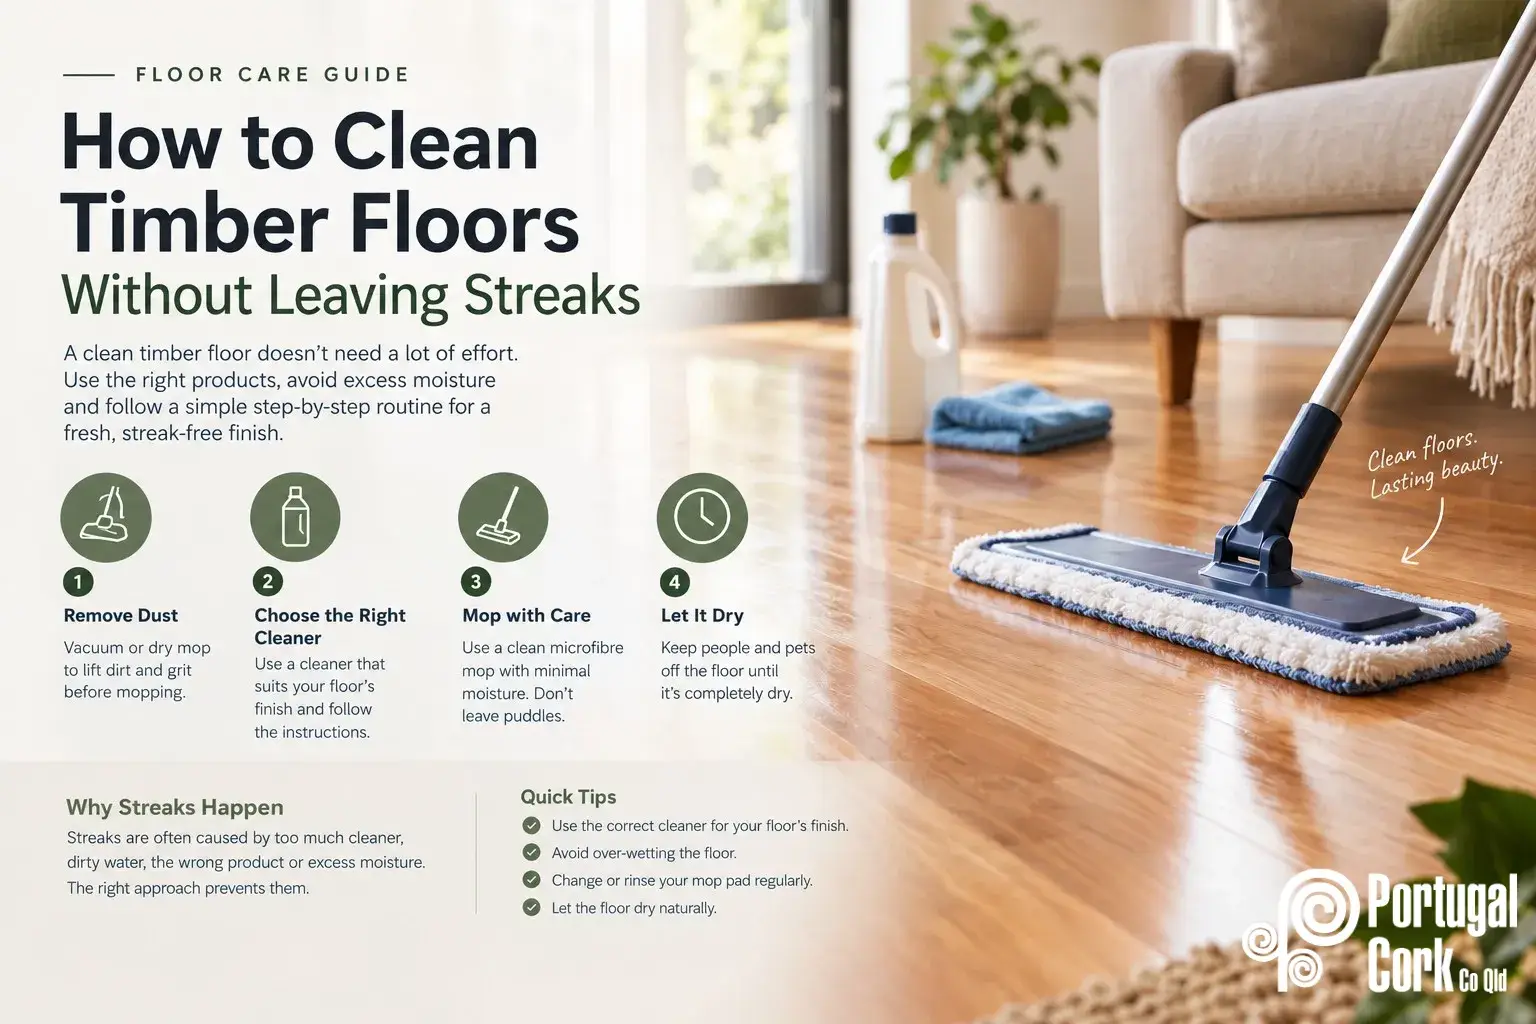
For routine cleaning, remove loose dust and grit first. Then use a clean microfibre mop with a cleaner suitable for the floor’s existing finish. Apply only a small amount of moisture and don’t leave puddles behind.
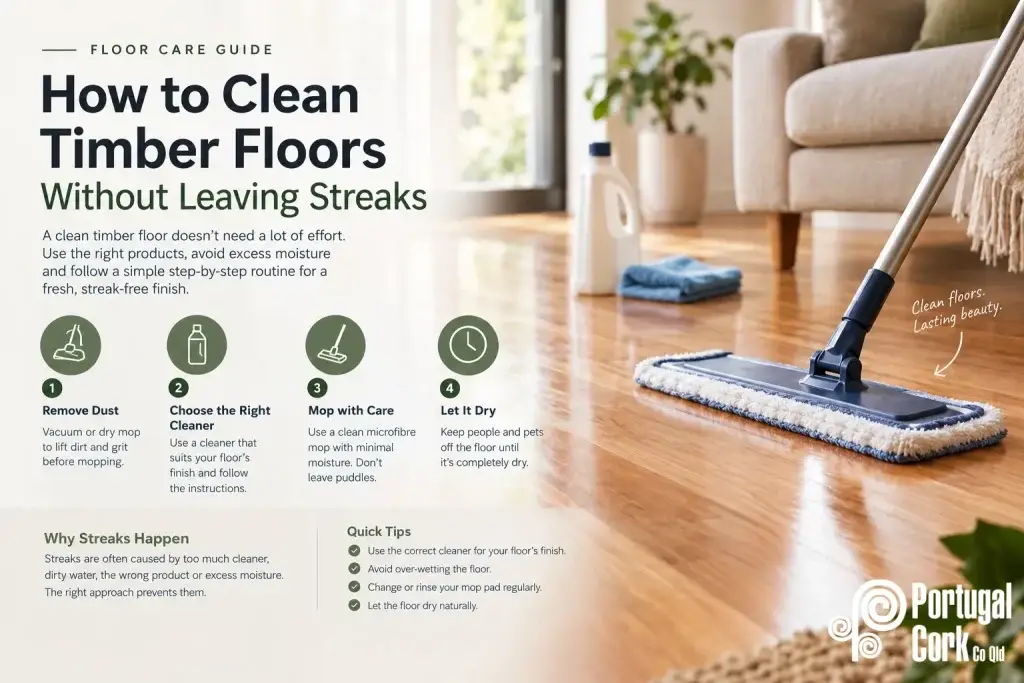
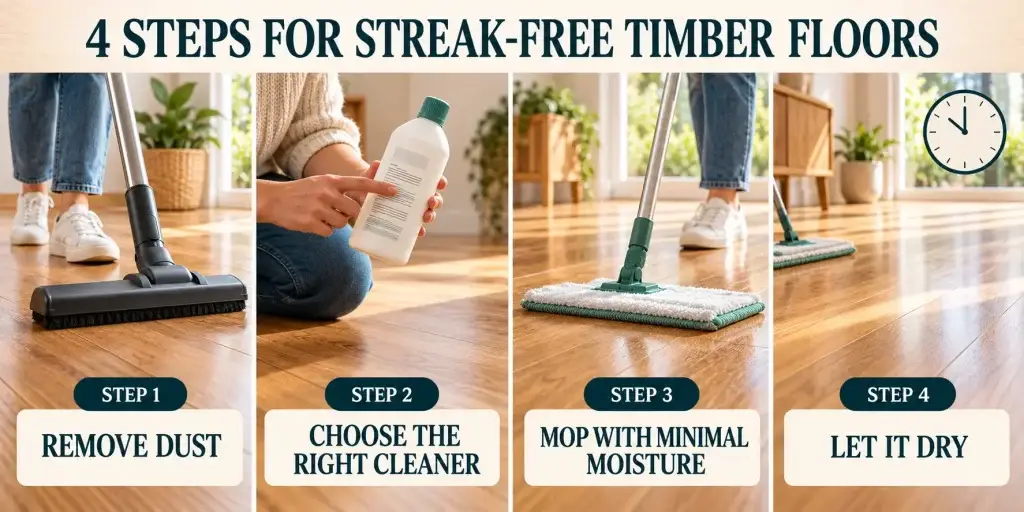
The simple order is:
- Vacuum or dry mop.
- Use the correct cleaner.
- Mop with minimal moisture.
- Let the floor dry before walking over it.
Before using any new product, check the floor finish and follow the cleaner manufacturer’s instructions.
Why Do Timber Floors Look Streaky After Mopping?
A streak is often a thin layer of residue. It becomes visible as the floor dries, especially in sunlight.
Common causes include:
- Too much cleaner: Extra product can remain on the surface.
- Incorrect dilution: A concentrated cleaner may leave residue when mixed too strongly.
- Dirty water or pads: Dirt gets spread rather than removed.
- Excess moisture: Water may sit on the finish or enter small gaps.
- An unsuitable product: General household detergents may not suit the coating.
- Walking on the floor too soon: Footprints can mark the surface before it dries.
Once you know the cause, the solution becomes much simpler.
Step 1: Remove Dust Before Mopping
Small pieces of grit may look harmless. Under a mop, however, they can be dragged across the finish.
Begin with a vacuum fitted with a suitable floor head or use a clean microfibre dusting pad. The best mop for timber floors has a soft, clean pad that won’t drag grit across the finish.
Dry cleaning first also prevents loose dust from turning into muddy marks when moisture is added.
Step 2: Choose a Cleaner That Suits the Finish
Not every timber floor has the same coating. Some are varnished, while others may have a hard-wax oil or another finishing system.
Good hardwood floor maintenance starts with checking the product label, floor-care guide or coating manufacturer’s instructions. If you don’t know what finish is on the floor, test the cleaner in a small, hidden area first.
Portcork’s Bona Wood Floor Cleaner 4L is ready to use and designed for finished timber floors, including varnished and hard-wax oiled surfaces.
If you prefer a concentrated cleaner, Bona Cleaner Concentrate is made for the regular care of finished timber and cork floors.
Step 3: Mop Timber Floors Without Leaving Streaks
Start with a clean mop pad. A pad that already holds dirt or old cleaner can leave lines behind. For quick, controlled cleaning, explore Portcork’s Bona Spray Mop.
Work in manageable sections and follow the direction of the boards where practical. Apply the cleaner evenly, but don’t flood the floor. If you’re using a bucket system, wring the mop thoroughly.
Rinse or change the pad when it becomes dirty. In a large room, one pad may not be enough.
Step 4: Let the Floor Dry
Allow each area to dry naturally. Keep people and pets away until the surface is completely dry to help prevent footprints.
How to Spot-Clean Marks and Spills
Small marks are easier to remove when you act quickly.
- Sticky spills: Wipe them up with a clean, damp microfibre cloth and a cleaner suited to the floor’s finish.
- Scuff marks: Start with a soft cloth or microfibre pad. Avoid abrasive pads that may scratch or dull the coating.
- Pet accidents: Remove the mess promptly and clean the area without soaking the boards. If liquid has entered the gaps, ask a flooring professional for advice.
Timber Floor Cleaning Mistakes to Avoid
Even a good cleaner can produce poor results when it’s used incorrectly.
Avoid:
- Pouring cleaner directly onto the floor unless instructed
- Guessing the dilution ratio
- Using an overly wet mop
- Leaving spills or puddles to dry on their own
- Cleaning the entire house with one dirty pad
- Using steam without confirmation from the flooring manufacturer
- Mixing different cleaning products
- Applying polish when the floor only needs cleaning
More product isn’t always better. When learning how to clean timber floors, accurate dilution and light application usually produce the cleaner result.
When Cleaning Is No Longer Enough