Before you start sanding your timber floor there are a few things to be considered if you want to achieve the natural beauty in a wooden floor.
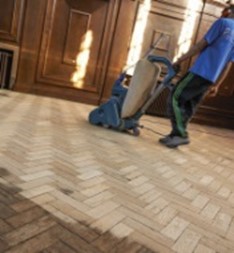
The choice of the grit you use and the amount of cuts you use will depend on the unevenness and possible soiling in the timber. The GRIT of the sandpaper tells you the size of the grain, larger grain sandpaper is used for rough sanding and the smaller grains used for fine sanding. A common sequence of grits 
The rough grit is used to remover possible staining and the humps and bumps in the floor. After the rough cut the floor has to be levelled. The fine grits are only used to remove the sanding marks of the rough grits. As a rule of thumb it is best not to jump more than two grit levels, preferably only one between sands. For example, if you start with 24 grit paper don’t jump further than a 40 grit for your next cut otherwise you will have a hard time removing the marks of the one before. Start with as finer a grit as possible. The quality of your work, speed and expenses are as a direct result of your choice of grits.
Pressure settings in relation to grit sequence
Many sanding machines these days have three drum pressure setting. These are to be used in relationship with the grit you are using. Harder pressure may be used for your rough cuts like 16G, 24G, 40G. Medium pressure for middle grits like 60G, 80G. Finer grits for low drum pressure like your 100G, 120G, 150G.
Walking speed in relation to sequence of grit
Your walking speed has to be even and not too slow and you will have to walk much faster with a belt sander than a drum sander. Adjust your walking speed to the grit you use. Generally faster walking as you get into the finer grits