
FAQs
- Can cork wall really help with soundproofing?
Absolutely. Cork wall’s honeycomb cellular structure allows it to absorb sound vibrations and reduce echo. While it won’t make your room entirely soundproof, it will noticeably dampen noise—perfect for shared walls, offices, and even noisy teenage bedrooms.
- Is this project beginner-friendly?
Yes, this project is perfect for beginners! With a bit of patience and the right instructions (like the ones in this guide), you’ll be surprised at what you can achieve over a weekend.
- How long does installation take?
Generally, one day is enough to measure, prep, and install cork tiles on a medium-sized feature wall. Add an extra day if you want to seal or paint the surface afterward.
- Can I install cork over painted walls or tiles?
You can, but proper surface preparation is key. Light sanding or priming will help ensure the adhesive sticks properly.
- Where do I find quality cork tiles in Australia?
Right here at PortCork! We supply high-quality, sustainable cork products Australia-wide.
Introduction
Is your home office echoing every keystroke? Or maybe your media room sounds more like a cave than a cinema? Many Aussie homes, especially newer builds, use materials like plasterboard that don’t absorb sound well. This can lead to a noisy, uncomfortable environment.
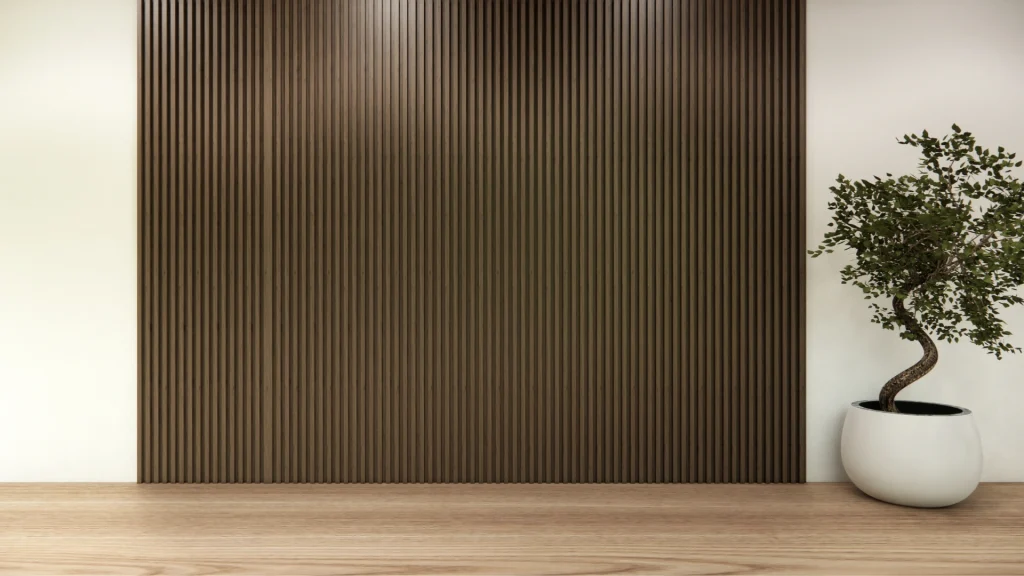
Enter cork: nature’s soundproofing hero. Cork is more than just eco-friendly—it’s incredibly functional and easy to install yourself. This guide walks you through creating a stylish cork feature wall that reduces noise, boosts insulation, and adds natural charm to any room.
Whether you’re updating a study, calming a nursery, or improving acoustics in your music room, cork is a beautiful and sustainable solution.
Materials Needed
You’ll need the following materials and tools:
- Cork Tiles – Choose decorative or acoustic-grade tiles based on your goal. PortCork stocks various sizes and finishes to suit your style.
- Adhesive – We recommend Wakol MS260, perfect for bonding cork to walls with minimal mess.
- Expansion Cork – Add an extra layer behind your wall tiles using 12mm Expansion Cork to maximise noise absorption.
- Measuring tape
- Spirit level
- Pencil or chalk
- Utility knife or heavy-duty scissors
- Roller, J-roller, or flat board for pressing tiles evenly
- Sandpaper or sanding block
- Damp cloth for cleaning
Optional:
- Eco-sealant or natural oil finish
- Grout (if spacing tiles with gaps)
Preparation Steps
- Measure the Wall
Start by measuring the width and height of your chosen wall. Multiply these figures to calculate the total square meterage. Then add 10–15% to allow for cuts, errors, and pattern adjustments. - Clean and Smooth the Surface
Wipe the wall with a damp cloth to remove dust, grease, or cobwebs. If your wall is glossy, lightly sand it to help the adhesive bond better. - Allow Cork to Acclimate
Store your cork tiles in the room for 48 hours before installation. Like timber, cork expands and contracts with temperature and humidity. This step prevents buckling or warping after installation. - Plan Your Layout
Do a dry run! Lay the tiles on the floor to decide on your pattern—brick-style, vertical, or mosaic. Mark a straight reference line on the wall using a level to keep your first row perfectly aligned.
Step-by-Step Instructions
Step 1: Measure and Mark Your Wall
Step 2: Prepare the Wall Surface
Step 3: Apply the Adhesive
Step 4: Install the Cork Tiles
Step 5: Finishing Touches
Tips and Tricks
- Tile Orientation Matters: Flip some tiles for slight grain variation. It gives a more natural, dynamic look.
- Start from the Centre: Especially with feature patterns, this prevents awkward half-tiles at the edges.
- Use Tape to Mark Patterns: Painter’s tape can help you visualise alignment or spacing between tiles.
- Add a Backing Layer: Mounting cork tiles over a base of 12mm Expansion Cork boosts both acoustic and thermal insulation.
- Wear Gloves: Some adhesives can irritate skin, so gloves are a good idea.
Common Mistakes to Avoid
- Skipping Acclimation – Cork needs to adjust to the room’s climate. If you skip this, the tiles may expand or contract post-installation.
- Using the Wrong Adhesive – Not all glues work well with cork. Always use a recommended product like Wakol MS260.
- Uneven Wall Surface – A lumpy or greasy wall can cause poor adhesion and visible flaws.
- Not Sealing if in Damp Areas – For bathrooms or laundry rooms, sealing cork helps prevent moisture damage.
Variations and Customisation Options
- Geometric Patterns – Cut cork tiles into triangles or hexagons for modern, art-inspired designs.
- Coloured Cork – While cork is naturally beautiful, you can stain or paint it to match your interior palette.
- Mix and Match – Combine cork with timber slats, shelves, or lighting features for a functional wall that doubles as décor.
- Framed Cork Panel – Instead of covering the whole wall, create a framed cork section for a clean, defined look.
Why Choose PortCork
PortCork is a proudly Australian-owned business offering top-tier cork products crafted from sustainably harvested cork oak. Whether you’re after practical acoustic tiles or decorative finishes, PortCork has you covered. Our products are durable, non-toxic, biodegradable, and perfect for DIYers and professionals alike.
Popular Products Used in This Project:
- Wakol MS260 Adhesive – Ensures strong bonding and long-lasting hold.
- 12mm Expansion Cork – Provides excellent sound insulation when used as a backing layer
With fast shipping and expert support, PortCork makes it easy to bring your project to life.
Conclusion
Installing a cork wall feature is more than just a weekend DIY project—it’s a lifestyle upgrade. Whether you’re creating a calming bedroom, a focused home office, or a peaceful reading nook, cork helps quieten your space naturally and stylishly.
It’s sustainable, versatile, and delightfully Aussie-approved. And best of all? You don’t need to be a tradie to get it right.
So grab your tiles, roll up your sleeves, and let PortCork help you build a wall that works as hard as it looks good.


